证书申请
1
$ keytool -genkey -alias [alias name] -keyalg RSA -keysize 2048 -keystore [keystore file name]
按提示设置密码及信息即可
生成CSR(Certificate Signing Request)文件
1
2
3
4
5
6
7
8
9
10
11
$ keytool -certreq -alias [alias name] -sigalg SHA256withRSA -file certreq.csr -keystore [keystore file name]
$ less certreq.csr
-----BEGIN NEW CERTIFICATE REQUEST-----
MIIC2jCCAcICAQAwZTELMAkGA1UEBhMCQ04xEDAOBgNVBAgTB2JlaWppbmcxEDAO
BgNVBAcTB2JlaWppbmcxDTALBgNVBAoTBHl1YW4xDTALBgNVBAsTBHl1YW4xFDAS
BgNVBAMTC3lhbmd5dWFuLm1lMIIBIjANBgkqhkiG9w0BAQEFAAOCAQ8AMIIBCgKC
AQEAmDjabzi0VQrzweXlU4Qeh9NoTIjXsQpKU+XldL9ci4RwA5a6EXO6Q1TLG0Ds
XfN68qp8Rwk5IPA5jnPFpBbgmDk46q25Vkd3cu0Udna0UCFtWN2T+GTaqc0w+UIp
......
-----END NEW CERTIFICATE REQUEST-----
拷贝certreq.csr文件中的内容,用其向证书提供商提交申请,等待下发证书。
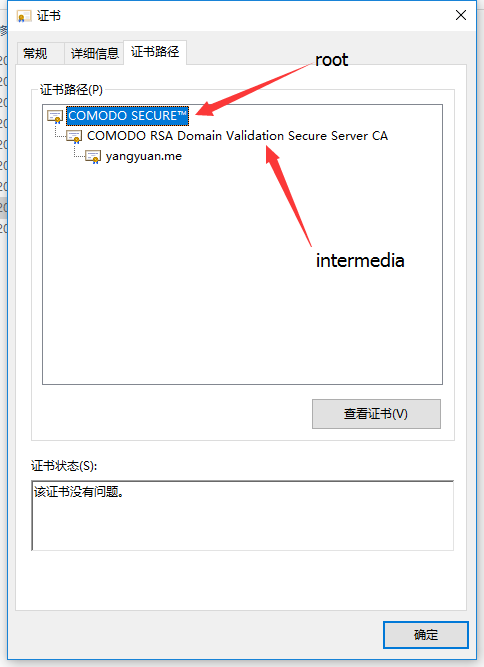
证书下发后,查看服务商提供的网站证书(cer, crt, etc.)
将根证书书和中级证书保存至本地
将根证书导入cacerts(通常位于$JAVA_HOME/jre/lib/security)
1
$ keytool -importcert -alias root -file [root certificate] -keystore cacerts
1
$ keytool -importcert -alias root -file [root certificate] -keystore [keystore file name]
1
$ keytool -importcert -alias intermediate -file [intermediate certificate] -keystore [key store file name]
1
$ keytool -trustcacerts -importcert -alias [alias name] -file [site certificate] -keystore [keystore file name]
Tomcat 配置
在server.xml中ssl配置部分作如下修改
1
2
3
4
5
6
<Connector port ="443" protocol ="org.apache.coyote.http11.Http11Protocol"
maxThreads ="150" SSLEnabled ="true" scheme ="https" secure ="true"
clientAuth ="false" sslProtocol ="TLS"
keystoreFile ="[keystore file path]"
keystorePass ="[keystore password]"
/>
在web.xml中<welcome-file-lis>后添加下面内容
1
2
3
4
5
6
7
8
9
10
11
12
13
14
15
<login-config >
<auth-method > CLIENT-CERT</auth-method >
<realm-name > Client Cert Users-only Area</realm-name >
</login-config >
<security-constraint >
<web-resource-collection >
<web-resource-name > SSL</web-resource-name >
<url-pattern > /*</url-pattern >
</web-resource-collection >
<user-data-constraint >
<transport-guarantee > CONFIDENTIAL</transport-guarantee >
</user-data-constraint >
</security-constraint >
重启Tomcat,大功告成!
Reference